
How and When to Replace a Faulty Refrigerator Defrost Timer
Share
A refrigerator’s defrost timer plays a critical role in regulating the cooling and defrost cycles, ensuring efficient operation. If the timer becomes faulty, it can lead to issues like ice buildup, inconsistent cooling, or the fridge not running at all. Here’s a step-by-step guide to identifying, replacing, and maintaining a faulty defrost timer.
Understanding the Role of a Defrost Timer
The defrost timer alternates between the cooling cycle and the defrost cycle:
- Cooling Cycle: Keeps the refrigerator and freezer compartments cold.
- Defrost Cycle: Heats the evaporator coils to melt accumulated frost and prevent ice buildup.
If the defrost timer fails, it can disrupt these cycles, potentially causing excessive frost or inadequate cooling.
Signs of a Faulty Defrost Timer
- Excessive Frost Buildup: Ice accumulates on the evaporator coils or freezer walls.
- Constant Running: The refrigerator runs continuously without entering the defrost cycle.
- Warm Refrigerator Compartment: The fridge isn’t cooling properly due to a frozen evaporator.
- Noisy Operation: Clicking sounds indicate the timer is trying (and failing) to advance.
- Refrigerator Stops Working: The timer is stuck in defrost mode, preventing the cooling cycle.
Tools and Materials Needed
- Screwdriver (flathead or Phillips, depending on your refrigerator model)
- Multimeter (for testing electrical continuity)
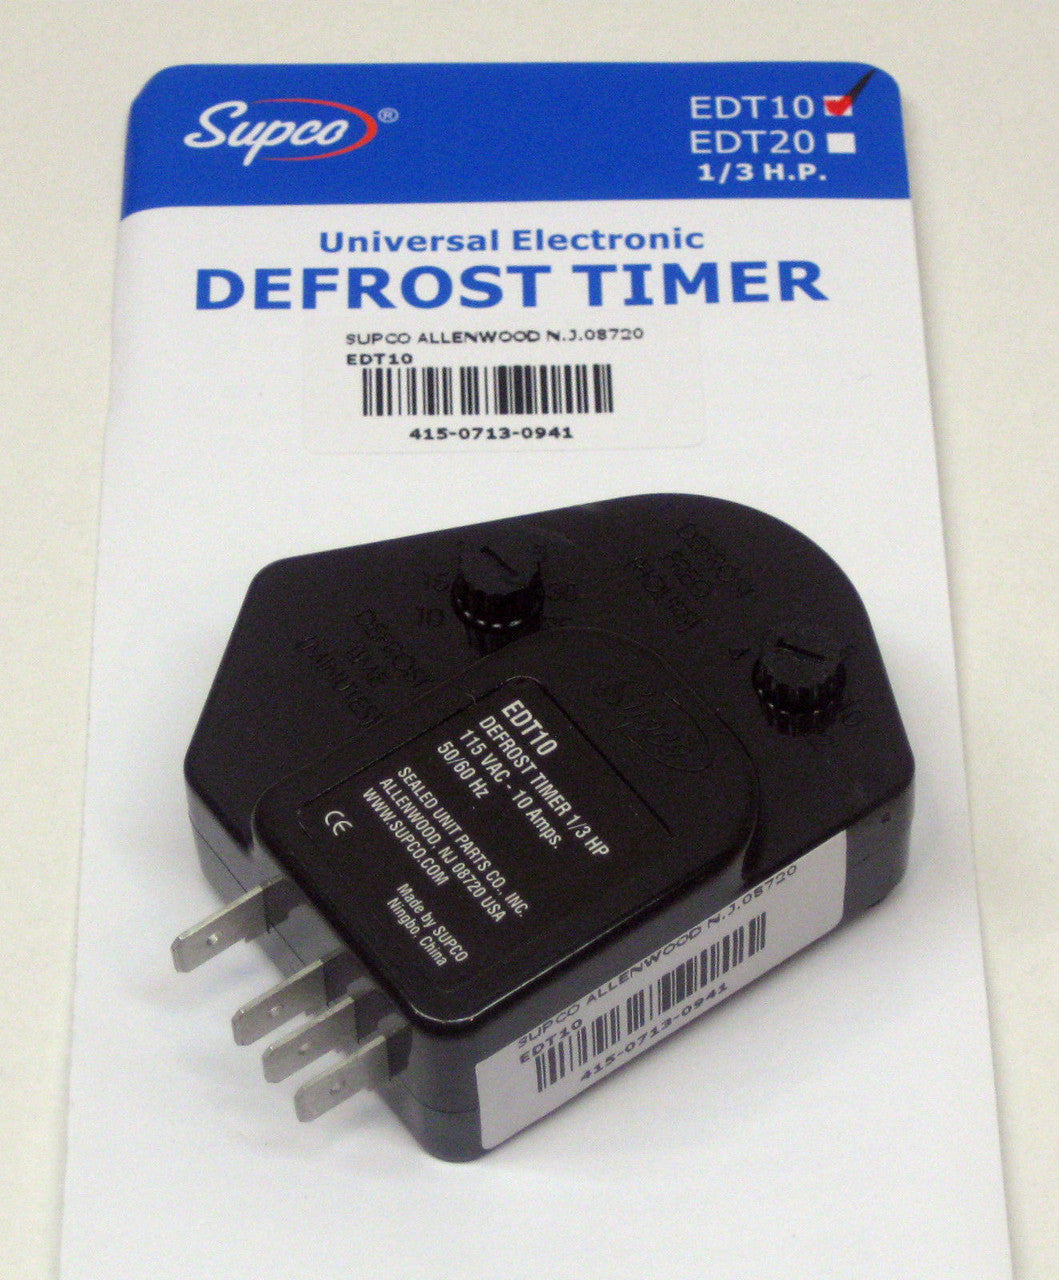
- Replacement defrost timer (ensure compatibility with your refrigerator model)
- User manual (optional but helpful for locating the timer)
Step-by-Step Guide to Replace a Defrost Timer
1. Disconnect the Power
- Unplug the refrigerator from the power outlet to avoid electrical hazards.
- If the fridge is hardwired, switch off the circuit breaker.
2. Locate the Defrost Timer
- The defrost timer is usually located in one of these areas:
- Behind the kickplate near the bottom front of the fridge.
- Inside the control panel near the thermostat.
- At the back of the refrigerator, close to the compressor.
- Refer to the user manual for the exact location.
3. Remove the Timer
- Unscrew any panels or covers to access the timer.
- Disconnect the wires connected to the timer by gently pulling on the terminals or using a flathead screwdriver.
- Note the wire arrangement or take a photo to ensure proper reinstallation.
4. Test the Timer
- Use a multimeter to check the defrost timer for electrical continuity.
- Set the multimeter to the ohms setting and test the timer’s terminals.
- Result: If there’s no continuity, the timer is faulty and needs replacement.
5. Install the New Timer
- Align the new defrost timer in the same position as the old one.
- Reconnect the wires according to the arrangement noted earlier.
- Secure the timer in place with screws and replace any panels or covers.
6. Test the Refrigerator
- Reconnect the refrigerator to the power supply.
- Turn the defrost timer’s dial manually to ensure it moves between cooling and defrost cycles.
- Monitor the fridge to confirm it operates correctly and resolves the initial issues.
When to Replace the Defrost Timer
- Consistent Frost Issues: If frost accumulation persists despite regular maintenance.
- Refrigerator Running Continuously: A timer stuck in the cooling cycle causes overuse.
- Failure to Cool: The fridge remains warm due to a timer stuck in defrost mode.
- Confirmed Timer Failure: Use a multimeter to verify the timer is non-functional.
Maintenance Tips for Defrost Timers
- Regular Cleaning: Dust and debris can interfere with the timer’s operation. Clean the area around the timer periodically.
- Monitor Refrigerator Performance: Stay alert for early signs of defrost system issues.
- Inspect Other Components: A faulty thermostat or defrost heater can mimic defrost timer problems. Ensure these components are functioning properly.
Conclusion
Replacing a faulty defrost timer is a manageable DIY task that can restore your refrigerator’s performance and efficiency. By identifying the signs of a defective timer, testing it, and following the steps outlined above, you can save time and money on professional repairs. For quality replacement parts and expert advice, visit trusted suppliers like PRS Parts Inc. in Honolulu, Hawaii.