
Replacing the Bearings in Your Washing Machine Drum
Share
Washing machine drum bearings play a crucial role in ensuring smooth and quiet operation. Over time, these bearings can wear out, leading to noise, vibrations, and reduced efficiency. Replacing them is a complex task but can save you money compared to buying a new machine. Here’s a step-by-step guide to help you replace the bearings in your washing machine drum.
Signs Your Washing Machine Bearings Need Replacement
- Loud Noise: A grinding or rumbling noise during the spin cycle.
- Excessive Vibration: The machine shakes or moves excessively during operation.
- Drum Play: The drum feels loose or wobbles when you move it manually.
- Water Leaks: Damaged bearings can lead to seal failures, causing leaks.
Tools and Materials Needed
- Replacement bearing kit (ensure compatibility with your washing machine model)
- Screwdrivers (flathead and Phillips)
- Socket wrench set
- Bearing puller or drift tool
- Hammer
- Pliers
- Grease or lubricant
- Towels and gloves
Step-by-Step Guide to Replacing Drum Bearings
1. Disconnect the Machine
- Unplug the washing machine from the power source.
- Turn off the water supply and disconnect the hoses.
2. Access the Drum
- Remove the Top and Back Panels: Use a screwdriver to remove the screws holding the panels in place.
-
Detach the Drum:
- Remove the drive belt connected to the drum and motor.
- Disconnect any wires or hoses attached to the drum assembly.
- Carefully take out the drum from the machine housing.
3. Remove the Old Bearings
- Locate the Bearings: They are usually housed at the back of the drum.
- Remove the Bearing Seal: Pry off the seal using a flathead screwdriver.
- Extract the Bearings: Use a bearing puller or gently tap them out with a drift tool and hammer.
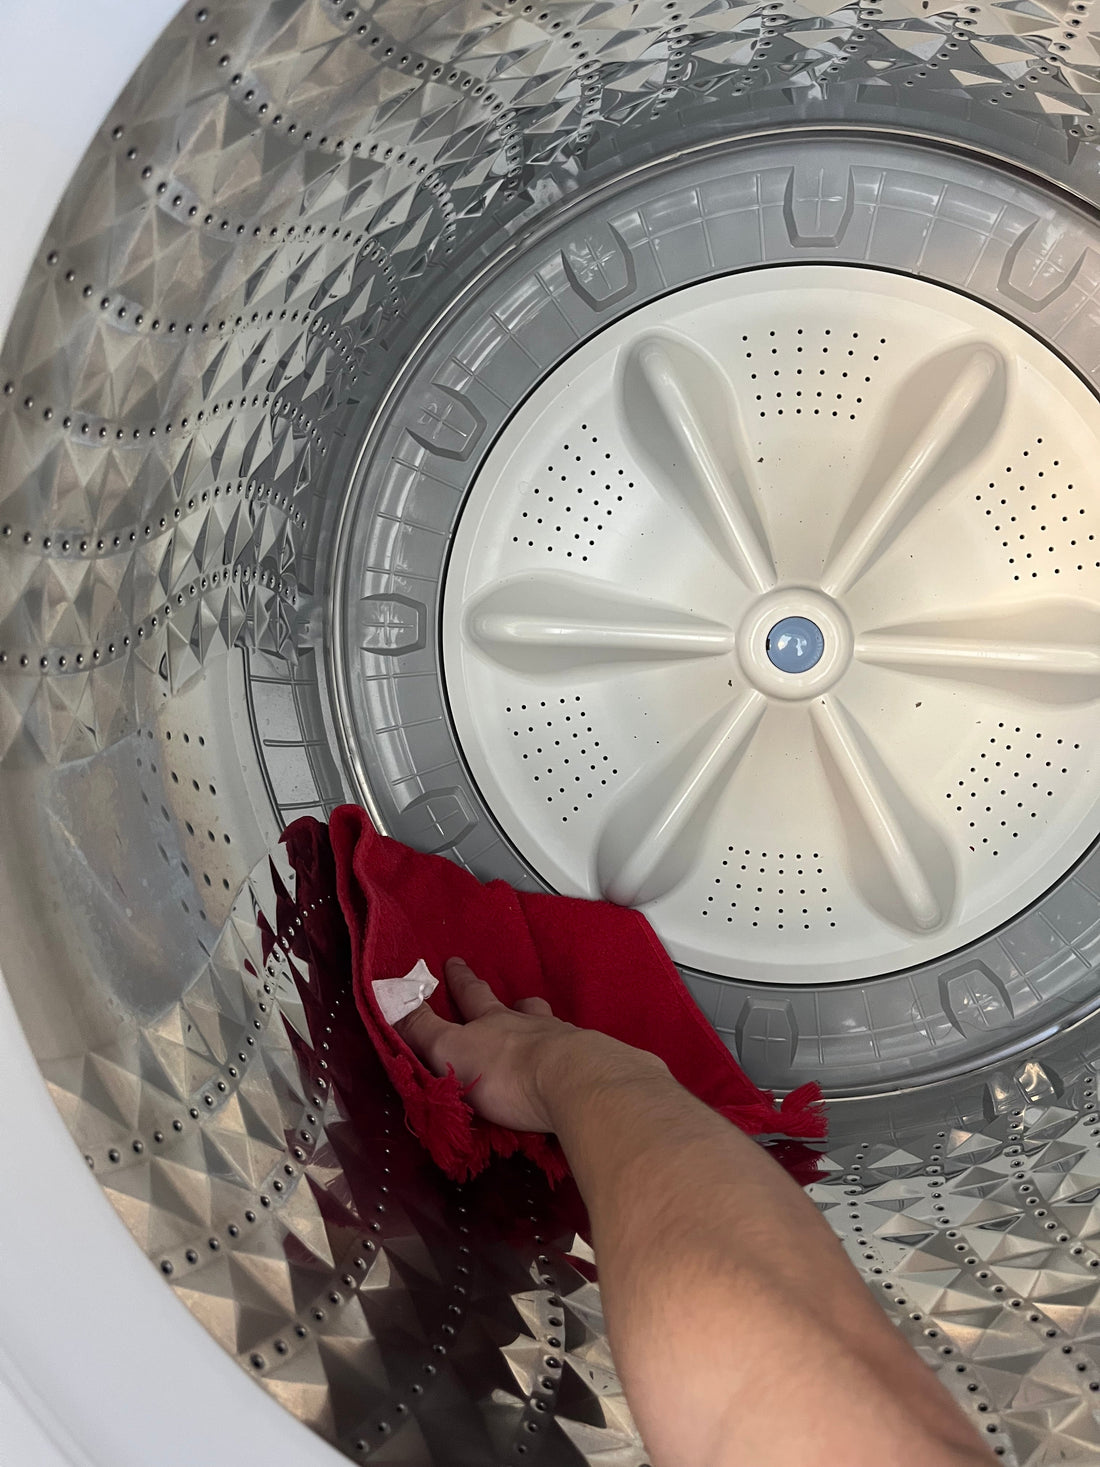
4. Clean the Area
- Wipe away any debris or grease from the bearing housing.
- Inspect the drum shaft for wear or damage.
5. Install the New Bearings
- Position the Bearings: Align the new bearings in the housing.
- Secure the Bearings: Tap them gently into place using a hammer and drift tool.
- Replace the Seal: Apply grease to the new seal and fit it securely over the bearings.
6. Reassemble the Machine
- Reattach the drum to the machine, reconnecting wires and hoses.
- Replace the drive belt and ensure proper tension.
- Secure the top and back panels with screws.
7. Test the Machine
- Plug in the washing machine and reconnect the water supply.
- Run a short cycle to ensure smooth operation and check for leaks.
When to Call a Professional
If you encounter any of the following issues, it’s best to consult a technician:
- Difficulty removing or installing the bearings.
- Significant damage to the drum shaft or housing.
- Persistent noise or vibration after replacement.
Tips for Prolonging Bearing Life
- Avoid Overloading: Overloading the machine puts extra stress on the bearings.
- Use High-Quality Detergents: Low-quality detergents can leave residue, affecting the bearings.
- Perform Regular Maintenance: Clean the drum and check for leaks regularly.
Replacing the bearings in your washing machine drum is a rewarding DIY project that restores efficiency and extends the life of your appliance. For high-quality replacement parts and expert advice, visit PRS Parts Inc. or your trusted local parts supplier.